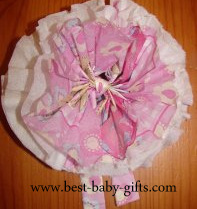
How To Make Paper Flowers
Learn how to make paper flowers in this very easy and quick step-by-step tutorial. Tissue paper flowers are great to decorate your baby gift, your baby shower gift or just any other gift!
They are a beautiful and cute decoration for your room and table for a special party, for example a baby shower party.
Use them, to nicely decorate a diaper cake, diaper bouquet or a baby gift basket. More ideas are listed below.
Since napkin flowers are so easy to make, even kindergarden kids can make them - with just a little help by an adult.
They are a really low cost DIY project and nice to look at. All you need is a napkin and that's it!
What To Use Tissue Paper Flowers For:
Tissue flowers are very versatile, you can use them for all kind of decorations and gifts such as
- if you give a gift card, decorate your envelope with a paper flower
- use as gift toppers: embellish any kind of wrapped gift with one or several paper flowers. Depending on your gift wrap, use the same color for all or make them colorful. Attach paper flowers to gifts as a decorative touch instead of traditional bows or ribbons
- spice up your homemade (baby) gift basket with one or several tissue paper flowers and roses
- decorate a diaper cake with colorful paper flowers
- table centerpieces: use paper flowers as decoration for your baby shower party, preferably in the color of baby's gender; make some cute baby shower decoration with diapers and tissue flowers. Arrange paper flowers in vases or jars to create stunning centerpieces for tables at parties, baby shower parties or weddings
- decorate any other party with napkin flowers, they add a touch of whimsy and color to the ambiance
- make a bunch of red paper flowers and give them for a Valentines gift
- paper flowers also can be used as Christmas decoration if you use the 'typical Christmas colors' such as white, green and red
- moms: have your kid(s) make a bunch of paper flowers for grandma's or grandpa's birthday
- dads: have your kid(s) make a tissue paper flower bunch for mom on Mother's Day or her birthday
- make with your little one and use as hair accessories: attach paper flowers to hair clips, headbands, or hair ties for a unique and colorful accessory
- use as seasonal decor around your home: customize paper flowers to fit different seasons or holidays, like creating red and green flowers for Christmas or pastel flowers for Easter
- overall, the versatility of paper flowers makes them a low cost, fun and creative DIY project
How To Make Paper Flowers
What do you need to make this DIY paper flower?
Just an ordinary napkin and nothing else!
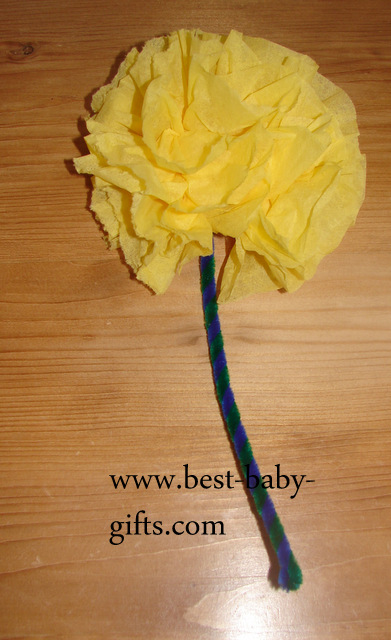
Wait, you might like to add a stem for a whole bunch of flowers in a vase. If so, you also need a piece of chenille stem, preferably in green color. A pompom is cute for the inner part of your napkin flower but not mandatory.
How To Make Paper Flowers
First, place the napkin in front of you so the closed side is on top. Then the left side is partially closed, too.
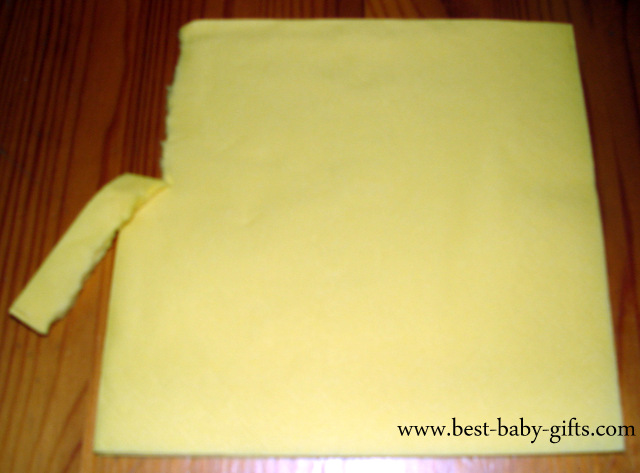
Then ripp of a small band at the left side, of approx. 1 finger wide. This does not need to be very accurate at all.
Keep the band, you will need it later. And if it should tear do not worry, you can also use some ribbon or string instead. Also, if you do not want to tear the band off, you can use a pair of scissors instead. However, if you ripp it off, the rim is a bit frizzy which makes the flower look nicer. Optionally, also tear off a bit on the right side, to make the rim more frizzy, too. The same applies if you want to make a smaller flower.
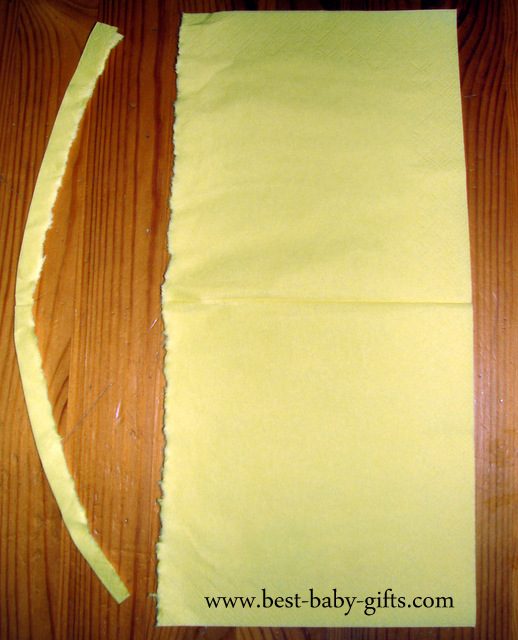
Next, open up the napkin by placing the lower part to the top.
How To Make Paper Flowers
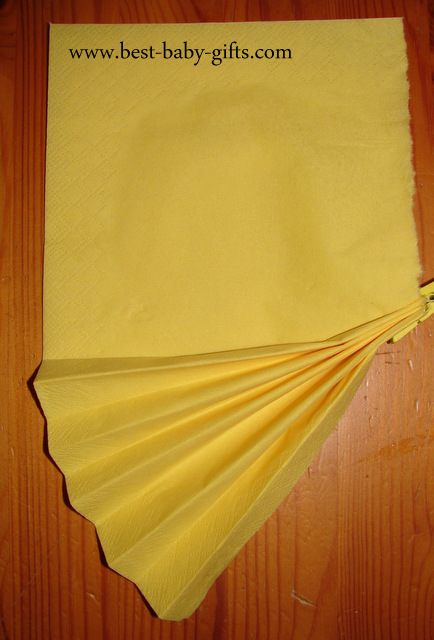
At the short side, start to fold over a small band, turn the napkin over and again fold a small band, turn the napkin over and fold a band and so on, until all is folded up. This is exactly like making a paper fan, the folded part looks like an accordion.
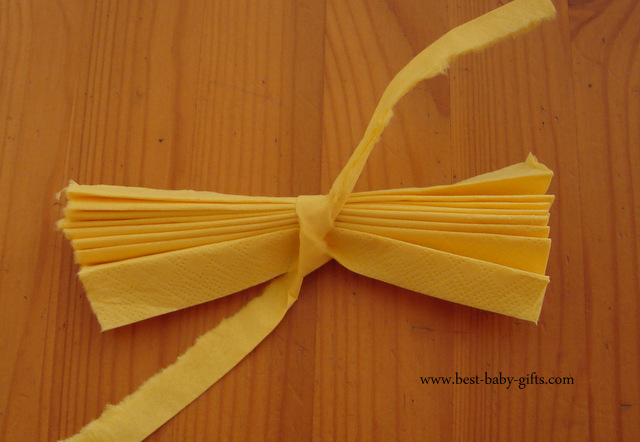
Take the band, alternatively some string, and wrap it around your folded napkin. Then tie a knot.
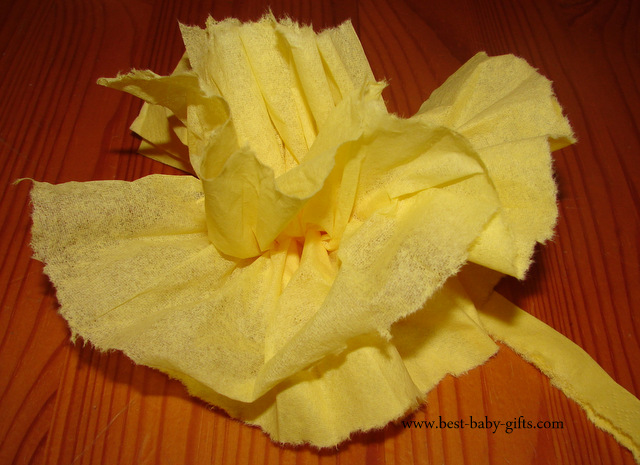
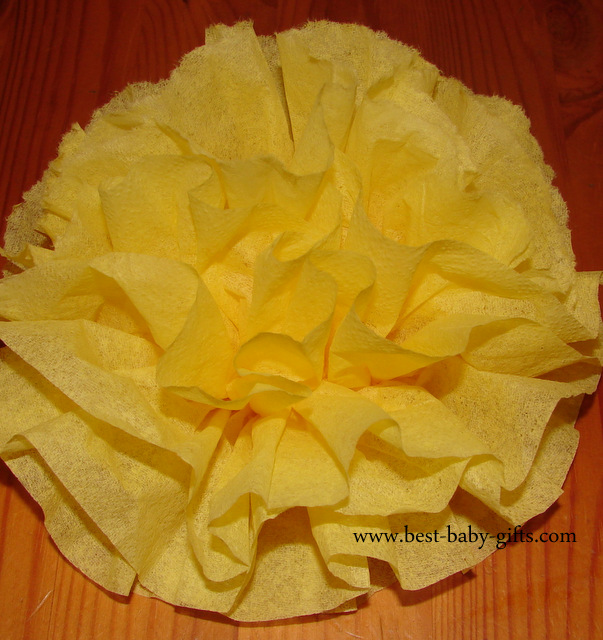
After that extend the napkin at both sides and start to pull apart the (usually 6) layers of your napkin. Try to arrange your layers nicely to make it look like a flower in full blossom.
This all does not need to be very accurate - it will look great any way.
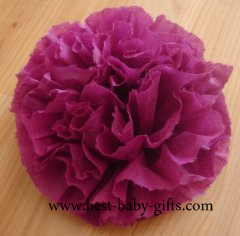
TA-DA - my DIY napkin flower!
Alternative: Tissue Paper Flower
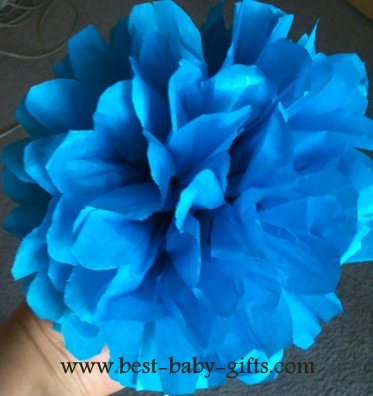
I made this beautiful blue flower exactly the same way as described above but instead of a napkin, I used tissue paper. Omit the step where you rip off a band and instead use some curling ribbon to tie around!
To make a tissue flower you need approx. 8 layers tissue paper, approx. the size of a napkin. If you want to, you can even use different colors or shades for the layers.
How To Make Paper Flowers - Tricks And Tips:
As already mentioned, depending on what type of napkin you use it might be helpful to also rip off a small band on the right hand side since it makes it easier for you to split the layers later on and it makes your flower look more fringy.
If you want to make small napkin roses, tear the napkin on both sides. You may rip off a broader band, it's all trial and error.
Usually it is better to take a single color napkin since patterns cannot be recognized once the layers are split. Moreover, sometimes the inner layers of the napkin are just plain white and do not have the pattern there, so the effect is rather dull as the photo below clearly shows.
For a bigger and fluffier tissue paper flower use two napkins. Tear the rim on both napkins and then place one on top of the other before making the fan.
For a flower with a stem take a Chenille stem and use it instead of the band to tie around your paper fan.
Optionally: Glue a pompom to the center of your napkin rose / flower.
|
Don't: Even though this napkin seemed just perfect for a baby girl, the tissue flower did not turn out very well. You cannot recognize the design anymore and the lower layers are plain white anyway. So, a plain-colored napkin just looks better! |
Find photos of more DIY flowers and DIY flower tutorials here.
Return from here To Baby Shower Gift Wrap
Some links on this page marked #ad or (ad) are affiliate links. This means when you purchase a product through one of these links I earn a small commission. There is no extra cost to you. This money helps me to maintain this website and provide free information for you. Thank you for supporting my website. To learn more please see my affiliate disclosure document.
(#ad) best baby products
